




 Strains
 Gidsen
 Tools
Tools Support





Kweekgidsen
Hoe gebruik je een kant-en-klare kweekzak voor paddo’s: een complete handleiding
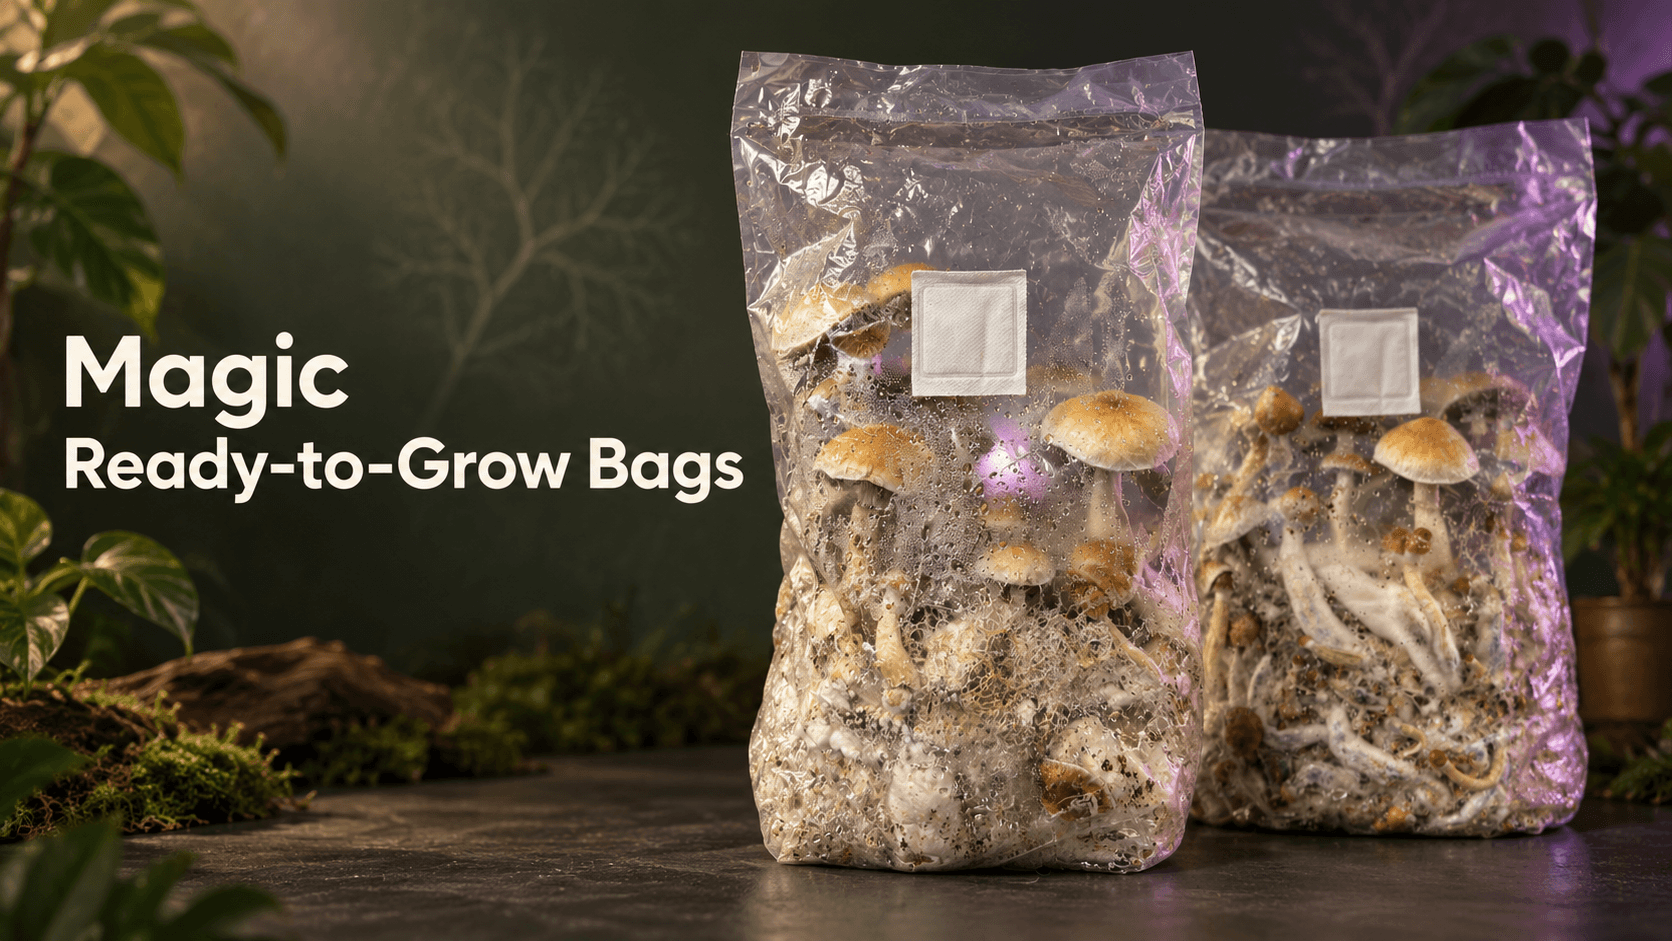
A Kant-en-klare kweekzak voor paddo’s makes mushroom cultivation accessible without requiring inoculation, incubation or substrate preparation. The substrate inside the bag has already been professionally inoculated and fully colonised before delivery, which means it is ready to enter the fruiting stage immediately. However, ready-to-grow does not mean that growing conditions can be ignored. Temperature, indirect light, fresh-air exchange, cleanliness and correct harvesting all influence how the bag develops. This complete guide explains how to use your Mondo Ready-to-Grow Bag from the first inspection to harvesting and additional flushes.
If you have not yet selected a variety, explore all Paddo Ready-to-Grow Bags or compare their characteristics in our Magic Mushroom Soorten Bibliotheek.
Prefer a printable guide? View or download the official Mondo Ready-to-Grow Bag Manual (PDF).
What Is a Magic Mushroom Ready-to-Grow Bag?
A Mondo Ready-to-Grow Bag is a complete cultivation system containing approximately 2.1 kg of professionally prepared and fully colonised substrate. Inoculation and incubation have already taken place under controlled conditions.
You do not need to inject spores or liquid culture, mix the substrate, soak the bag or transfer its contents into another container. The mushrooms grow directly from the colonised substrate inside the supplied bag.
Every Ready-to-Grow Bag includes:
- A fully colonised substrate block inside a transparent cultivation bag
- A breathable filter patch built into the bag
- A pre-cut upper corner for controlled fresh-air exchange
- A resealing sticker covering the pre-cut opening
- An elastic band fitted around the substrate to help reduce side pins
The elastic band and resealing sticker are functional parts of the cultivation system. Do not remove the elastic band, and keep the pre-cut corner closed until the first pins appear.
What Do You Need Before Starting?
The bag contains almost everything required for cultivation. Before handling it, prepare:
- Antibacteriële zeep
- Ontsmettingsmiddel voor je werkblad
- Clean scissors for opening the bag during harvest
- A clean clip or suitable tape for resealing the bag after harvesting
- Clean disposable gloves and a face mask for additional protection, if available
Nee sporenspuit, liquid culture, additional substrate or spray bottle is required.
Step 1: Inspect the Bag Before You Start
Always inspect the Ready-to-Grow Bag before placing it into fruiting conditions. Look at the substrate through the transparent plastic without opening the bag.
What healthy mycelium looks like
Healthy mycelium is generally white to yellowish-white. It can look thin and web-like in some areas and thicker or fluffier in others. The bag should be intact, without tears, punctures or broken seals.
When you should not start the bag
Do not open or activate the bag if you see unusual green, black, red or pink growth. You should also stop if the bag is torn, damaged or no longer properly sealed.
If something looks unusual, keep the bag closed and take clear photographs of the top and sides. Use the Mondo-centrum voor probleemoplossing to assess the situation or contact our support team for assistance.
Blue or blue-grey areas are not automatically verontreiniging. They can sometimes be caused by bruising of the mycelium. Avoid touching or disturbing the substrate unnecessarily.
Step 2: Clean Your Hands and Work Area
Clean handling is important every time you touch the bag.
- Wash your hands and forearms thoroughly with antibacterial soap.
- Clean and disinfect the work surface.
- Tie back long hair.
- Keep windows closed and avoid strong draughts while handling the bag.
- Use clean gloves and a face mask for additional protection if available.
Do not open the bag to inspect, smell or touch the substrate. Unnecessary handling increases the risk of introducing contaminants.
Step 3: Choose the Right Growing Location
Place the unopened bag upright in a clean location with stable conditions.
Ideal temperature
Keep the Ready-to-Grow Bag at a stable temperature between 23 and 27°C. Never allow the temperature to rise above 27°C.
A room that is slightly too cool may slow development. If additional warmth is required, use a suitable heat mat carefully and avoid direct contact between an unprotected heat mat and the substrate.
Correct lighting
Provide bright, indirect light. The bag does not need intense light, but it should receive a natural day-and-night rhythm.
Never place the bag in direct sunlight. Direct sunlight can raise the temperature quickly and dry or damage the mycelium. If the room does not receive suitable daylight, a mushroom grow light can be used.
Keep the bag closed before pins appear
Do not peel back the sticker or open the pre-cut corner before the first pins appear. The sealed bag maintains the humidity needed during the early fruiting stage.
Opening the bag too early can release humidity and slow development.
Step 4: Wait for the First Pins
Pins are the first visible stage of mushroom development. They usually appear as small, pale knobs emerging from the surface of the colonised substrate.
Every bag develops at its own pace. Strain, temperature, light and environmental stability can all affect how quickly pins appear. Follow the development inside the bag rather than relying on a fixed number of days.
If nothing appears immediately:
- Check that the temperature remains between 23 and 27°C
- Make sure the bag receives bright, indirect light
- Confirm that the bag is still closed
- Avoid moving or handling it unnecessarily
- Give the mycelium additional time
You can record the progress of your bag and receive stage-specific guidance through the Mondo Grow Tracker.
Step 5: Start Fresh-Air Exchange
Fresh-air exchange should begin only after the first pins are visible.
- Wash your hands and forearms and disinfect the work surface.
- Carefully peel back the resealing sticker covering the pre-cut corner.
- Allow fresh air to enter through the opening for a short period.
- Press the sticker firmly back over the opening afterward.
- Repeat this process between one and three times per day.
Short and controlled air exchanges are better than leaving the corner permanently open. Closing the opening again helps the bag retain humidity.
Do not cut a second opening and do not cut through the filter patch. The pre-cut corner is the designated opening for fresh-air exchange.
Signs that more fresh air may be needed
Insufficient fresh-air exchange can contribute to:
- Long, thin or misshapen mushrooms
- Stalled development after pins have appeared
- Deformed fruiting bodies
- Excessively humid conditions around the opening
If development appears restricted, make each air exchange slightly longer. Do not leave the corner continuously open, as this can reduce humidity too quickly.
Why Should the Elastic Band Stay in Place?
The elastic band fitted around the lower part of the bag should remain in place throughout the entire growing process.
It presses the plastic against the sides of the substrate and reduces the open, humid space in which side pins can form. Side pins are mushrooms that grow between the substrate and the plastic instead of from the top surface.
Do not remove or loosen the elastic band. If mushrooms still form along the sides, read our guide to mushroom side pins and what to do about them.
Step 6: Let the Mushrooms Develop
Once fresh-air exchange has started, continue providing stable temperature, indirect light and one to three short air exchanges per day.
During this stage:
- Keep the bag between 23 and 27°C
- Keep it away from direct sunlight and radiators
- Do not spray water into the bag
- Do not touch the mushrooms or substrate
- Keep the elastic band in place
- Close the sticker after every air exchange
- Avoid moving the bag unnecessarily
The mushrooms now primarily need fresh air, suitable light and stable environmental conditions. More handling does not make them grow faster and can increase contamination risk.
Step 7: Know When to Harvest
The best moment to harvest is when the veil underneath the mushroom cap begins to tear and the cap starts opening.
Te vroeg
If the cap remains closed and the veil is completely intact, allow the mushroom to continue developing.
Ideal harvesting moment
Harvest when the veil has started to tear or has only recently torn and the cap is beginning to open.
Too late
If the cap is fully open, the mushroom may begin releasing sporen. Heavy spore release can leave a dark deposit over the mushrooms and inside the bag.
For more detail about recognising the correct moment and removing mushrooms safely, read our complete guide on hoe je paddo’s oogst.
Step 8: How to Harvest From the Bag
Before harvesting, wash your hands and forearms and disinfect the work surface again.
- Use clean scissors to cut off the entire sealed top section of the bag.
- Create enough access to reach the mushrooms without crushing them.
- Hold each mushroom carefully near its base.
- Gently twist and pull it away from the substrate.
- Remove all mature mushrooms and remaining mushroom stumps.
- Avoid digging into or damaging the substrate.
Do not attempt to harvest the entire flush through the small pre-cut ventilation corner. Opening the top provides safer and easier access.
Step 9: Prepare the Bag for Another Flush
A healthy Ready-to-Grow Bag can produce another flush after the first harvest. Later flushes are often smaller, and the number of additional flushes cannot be guaranteed.
After harvesting:
- Make sure all mushroom stumps and remaining fruiting bodies have been removed.
- Close the cut top of the bag securely with a clean clip or suitable tape.
- Press out excessive air while retaining enough humidity inside the bag.
- Return the bag to the same bright location with indirect light.
- Maintain a stable temperature between 23 and 27°C.
- Wait for new pins and repeat the fresh-air and harvesting steps.
No soaking is required for the Mondo Ready-to-Grow Bag. Do not remove the substrate or transfer it to another container.
Continue only while the substrate remains healthy. Stop using the bag if contamination appears or the substrate clearly deteriorates.
Common Ready-to-Grow Bag Problems
Growth is slow or nothing is happening
Check the temperature and lighting first. Keep the bag closed if no pins have appeared and avoid unnecessary handling. Some strains develop more slowly than others.
Pins appear but do not mature
Confirm that the room is between 23 and 27°C. Provide bright indirect light and make the controlled air exchanges slightly longer.
Mushrooms look long or deformed
This often indicates insufficient fresh-air exchange. Increase the duration of each short air exchange without leaving the bag permanently open.
Mushrooms grow along the sides
Make sure the elastic band remains tight around the substrate. Side pins are not automatically harmful, but they can be more difficult to monitor and harvest.
The substrate shows blue areas
Blue or blue-grey colouring can be caused by bruising. Avoid handling the substrate and monitor the affected area. Rapidly spreading green, black, red or pink growth is more concerning.
Possible contamination
Keep the bag closed and separate it from other cultivation products. Take clear photographs of the top and sides and use the Mondo-centrum voor probleemoplossing. Do not try to clean or rescue contaminated substrate.
Important Mistakes to Avoid
- Do not open the pre-cut corner before pins appear
- Do not remove or loosen the elastic band
- Do not place the bag in direct sunlight
- Do not allow the temperature to exceed 27°C
- Do not spray water into the bag
- Do not cut through the filter patch
- Do not leave the ventilation corner permanently open
- Do not touch or break apart the substrate
- Do not transfer the substrate into another container
- Do not over-handle the bag
Choose Your Ready-to-Grow Bag
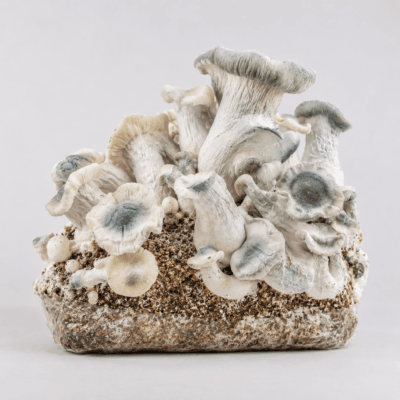
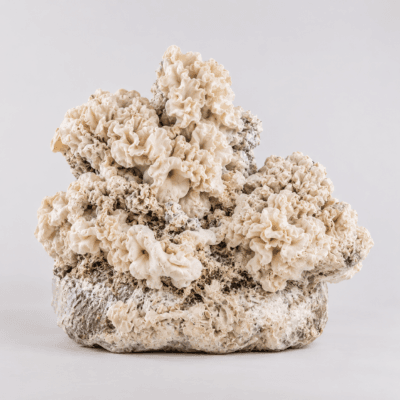
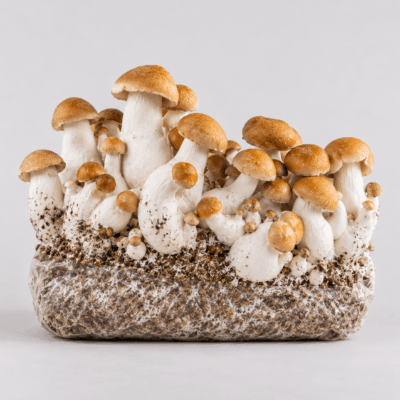
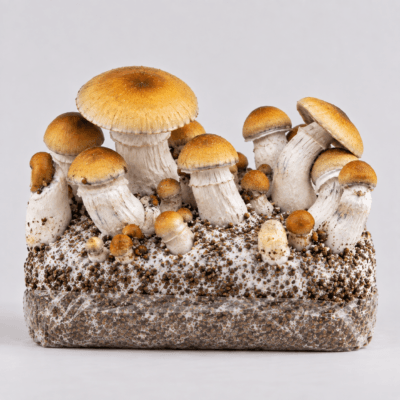
Mondo Ready-to-Grow Bags are available in a growing selection of classic and modern Psilocybe cubensis varieties. Each bag contains approximately 2.1 kg of fully colonised substrate and requires no customer inoculation.
Not sure which variety suits your experience level? Use the Mondo-productadviseur or compare strains in the Magic Mushroom Soorten Bibliotheek.
✓ Op voorraad
✓ Op voorraad
✓ Op voorraad
✓ Op voorraad
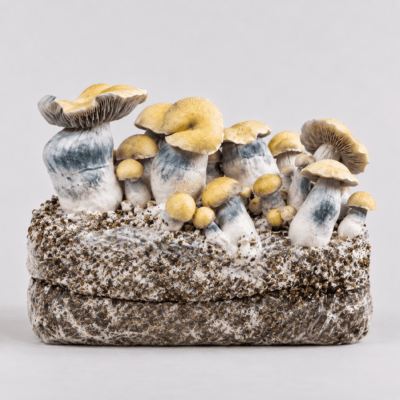
✓ Op voorraad
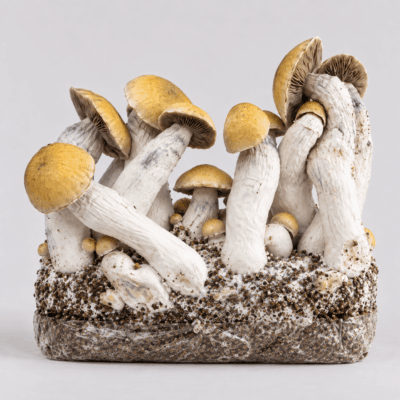
✓ Op voorraad

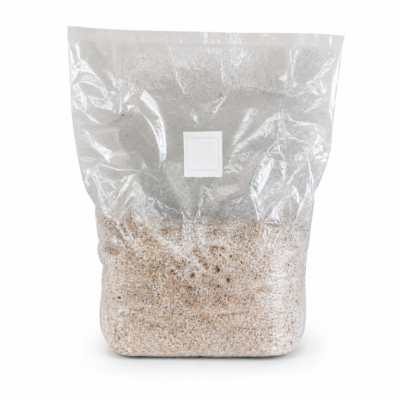
✓ Op voorraad

✓ Op voorraad
Ready-to-Grow Bag Manual
This article provides a detailed explanation of the complete process. Keep the official manual available while using your bag so you can check each stage as your grow develops.
View or download the official Mondo Ready-to-Grow Bag Manual (PDF)
If you are still deciding between the two systems, read our comparison of Kweeksetjes voor paddo’s versus kant-en-klare kweekzakjes.
Veelgestelde vragen
Ja. Het substraat is vóór levering al vakkundig geïnoculeerd en volledig gekoloniseerd. U hebt geen sporen, vloeibare kweek of inoculatieapparatuur nodig.
Nee. De inenting en de incubatie hebben al onder gecontroleerde omstandigheden plaatsgevonden. De zak is klaar om onmiddellijk de vruchtvormingsfase in te gaan.
Nee. Maak de zak of het substraat niet nat. Plaats de ongeopende zak onder de aanbevolen kweekomstandigheden en wacht tot de eerste sporen verschijnen.
Nee. Houd de zak gesloten totdat de eerste speldjes zichtbaar zijn. Als je de zak te vroeg opent, kan er vocht ontsnappen en kan de groei vertragen.
Begin fresh-air exchange as soon as the first pins are visible. Peel back the sticker over the pre-cut corner, allow fresh air to enter briefly and then reseal the opening.
Aim for one to three short air exchanges per day after the first pins appear. Always press the sticker back over the opening afterward so the bag retains humidity.
No. Leave the elastic band in place throughout the entire growing process. It holds the plastic close to the substrate and helps reduce side-pin formation.
No. The Mondo Ready-to-Grow Bag does not require additional spraying. Adding unnecessary water can create overly wet conditions and increase the risk of problems.
Maintain a stable temperature between 23 and 27°C. Never exceed 27°C and keep the bag away from direct sunlight, radiators and other heat sources.
Yes. Place the bag in bright, indirect light. Never expose it to direct sunlight. A mushroom grow light can be used when suitable daylight is unavailable.
Harvest when the veil underneath the cap begins to tear and the cap starts opening. Avoid waiting until all caps are fully open and releasing spores.
Use clean scissors to cut off the entire top section of the bag. This provides enough access to harvest the mushrooms without crushing them or damaging the substrate.
Yes. A healthy bag can produce additional flushes. After harvesting, remove remaining mushroom stumps, close the top securely with a clip or tape and return the bag to the same growing conditions. Results and the number of flushes vary.
No. The Mondo Ready-to-Grow Bag does not need to be soaked between flushes. Reseal the bag and return it to suitable fruiting conditions.
No. The mushrooms are intended to grow directly inside the supplied bag. Do not break apart or transfer the colonised substrate into another container.
Keep the bag closed and separate it from other cultivation products. Take clear photographs of the top and sides and visit the Mondo-centrum voor probleemoplossing. Do not attempt to clean or rescue contaminated substrate.
Ready to start? Explore all Paddo Ready-to-Grow Bags and choose the strain that best matches your experience and growing preferences.