






 Strains
 Guides
 Tools
Tools Support





Magic Mushroom Grow Kit Instructions
How to get started with your Mondo Grow Kit
This Mondo Grow Kit activation guide provides clear step-by-step instructions for setting up, growing and harvesting your magic mushroom grow kit. Follow the guide to learn how to soak and prepare your kit, create the right growing conditions, recognise the first pins and know when your mushrooms are ready to harvest.
These instructions apply to all Mondo Grow Kit sizes: Medium 750 cc, Large 1200 cc and Extra Large 2100 cc. The growing method and water quantities are the same for all three sizes.
Every grow develops at its own pace. Use the instructions and development stages as your guide rather than relying only on timing — follow the kit, not the calendar.
Go to Intructions Download Instructions Instruction Video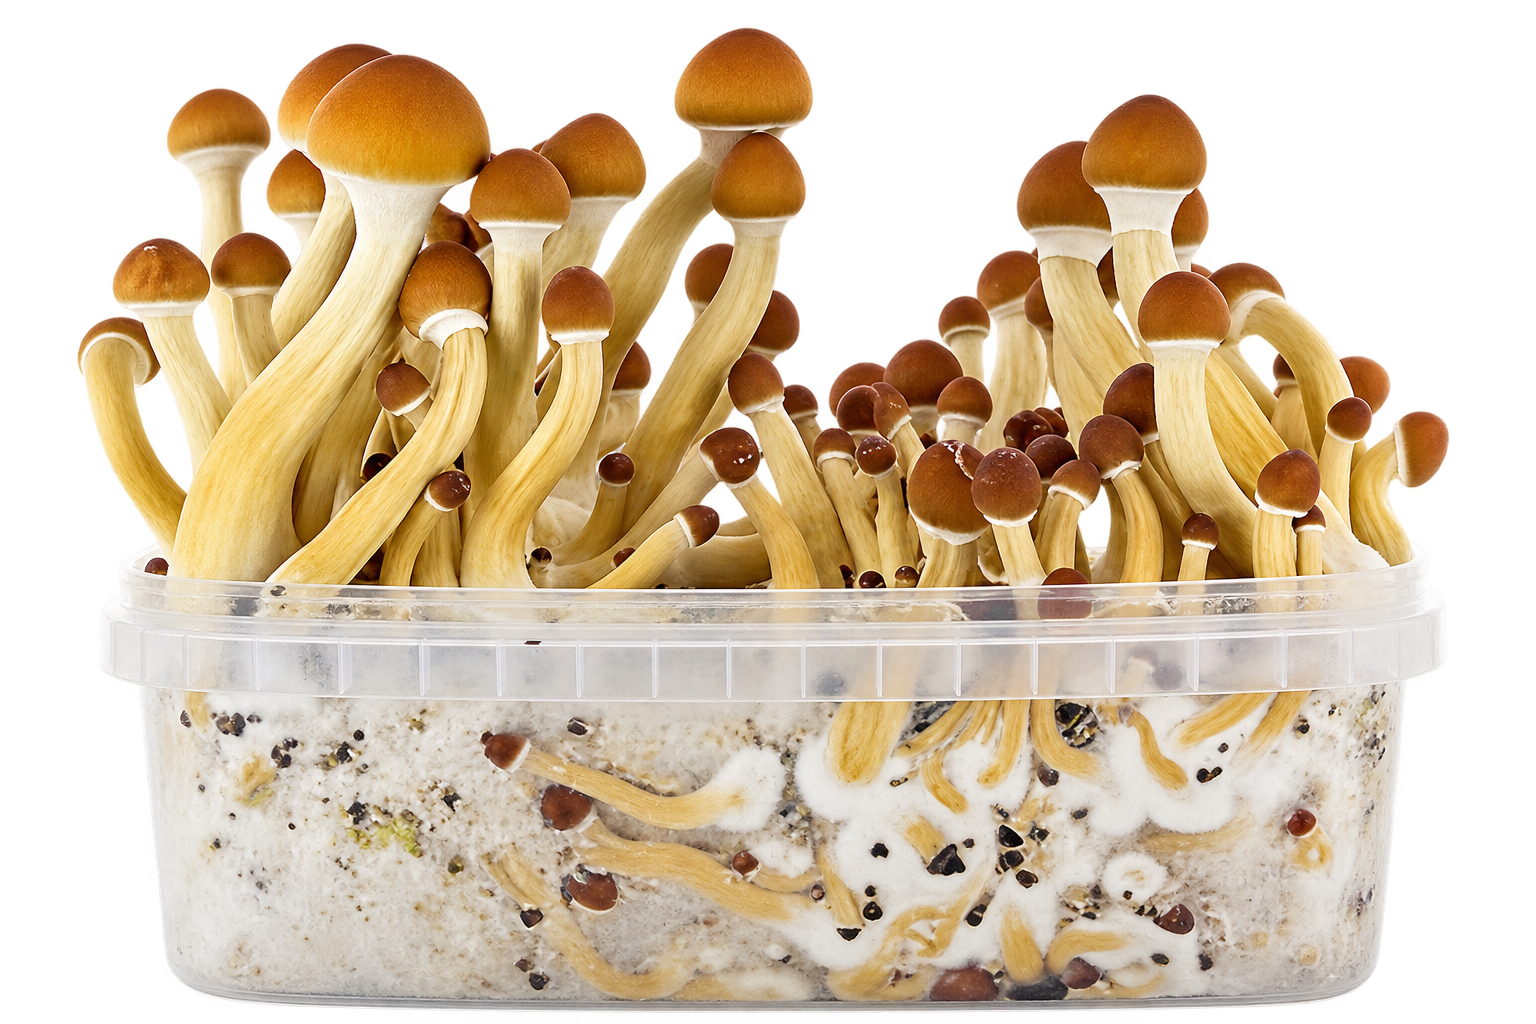
What you need for your Mondo Grow Kit
Inside the box
Your Mondo Grow Kit is pre-inoculated and ready to grow. Keep the lid, as you will need it again for later flushes.
The filter bag helps retain humidity while the filter patch allows the mushrooms to breathe. Use the yellow seal sticker to close the folded top of the bag.
You will also need
- Drinking water
- A clean spray bottle
- Antibacterial soap
- Disinfectant for your work surface
Healthy mycelium is normally white to yellowish-white. If you see unusual green, black, red or pink growth, keep the kit closed, take clear photos and contact Mondo customer support. Do not try to clean or rescue it.
Ideal Mondo Grow Kit conditions
Clean hands & surface
Wash your hands and forearms with antibacterial soap and disinfect your work surface whenever you open the grow kit or filter bag.
Temperature: 23–25 °C
Keep the temperature as steady as possible. The ideal range is 23–25 °C. Keep the grow kit below 27 °C.
Bright indirect light
Place your grow kit in bright indirect light. Never place the grow bag in direct sunlight.
Humidity & fresh air
Small droplets on the inside of the bag are normal. Start fresh-air exchange only after the first pins appear.
From activation to your first harvest
Up to 24 hours is okay.
The first tiny pins begin appearing on the substrate.
Calculated from sealing the filter bag.
Soak the Grow Kit
Clean your work surface and wash your hands with antibacterial soap. Open one corner of the lid and fill the grow kit with cold drinking water until the container is full.
Close the lid and place the grow kit in the refrigerator for 9–12 hours. Soaking for up to 24 hours is okay.
Prepare the filter bag
Clean your hands, forearms and work surface again before opening the grow kit.
- Drain the water from the grow kit.
- Remove the lid and save it for later flushes.
- Add exactly 150 ml of drinking water to the bottom of the filter bag.
- Place the grow kit inside the bag.
- Keep plenty of air inside the filter bag.
- Fold the top over twice and close it with the yellow seal sticker.
Medium 750 cc, Large 1200 cc and Extra Large 2100 cc all use exactly the same 150 ml of water in the filter bag.
Let your Grow Kit grow
What you need to do now depends mainly on whether the first pins have appeared.
Before the first pins
Keep the filter bag closed as much as possible and maintain the humidity inside.
Keep the grow kit in bright indirect light at a steady 23–25 °C.
Only if the bag becomes clearly too dry, lightly mist the inner walls of the bag. Never spray directly onto the substrate.
After the first pins
Exchange the air 1–3 times per day. Open the filter bag briefly, let the old air out and reseal it with fresh air inside.
Stop misting once the mushrooms begin developing. From this stage onward they need fresh air rather than additional water.
When to harvest your mushrooms
Harvest when the veil underneath the mushroom cap starts to tear and the cap begins to open, before the cap is fully open.
Carefully twist and pull the mushrooms away from the substrate.
Too early
The veil underneath the cap is still intact. Leave the mushroom to grow.
Ready to harvest
The veil is beginning to tear or has recently torn and the cap is opening.
Late
The cap is fully open and spores may begin to drop.
Prepare your Grow Kit for the next flush
When a flush has finished, your grow kit may produce another one. Later flushes are often smaller.
- Clean your hands, forearms and work surface.
- Remove all remaining mushrooms.
- Disinfect the lid you saved and place it back on the grow kit.
- Repeat steps 1 through 4: soak, prepare the bag, grow and harvest.
What normal Grow Kit development looks like
Every grow develops at its own pace. What you see matters more than what day it is.
Stage 1 — White surface
White or slightly fuzzy mycelium is visible across the substrate. This is normal.
Stage 2 — First pins
Small pale pins begin appearing on the surface. Stop misting and start the daily fresh-air exchange.
Stage 3 — Mature mushrooms
The mushrooms reach full size and the veil underneath the cap begins tearing. The mushrooms are ready to harvest.
Slow starts are common. Check the temperature and humidity, then give the grow kit more time.
Magic Mushroom Grow Kit troubleshooting
| What you see | What to check |
|---|---|
| Slow growth or no growth | Check the temperature and humidity and give the grow kit more time. Follow the kit, not the calendar. |
| Too little fresh air | After the first pins appear, exchange the air briefly 1–3 times per day. |
| Too dry | Before pins appear, lightly mist only the inner walls of the bag if needed. Never spray the substrate. |
| Too humid | If there is excessive water on the walls or pooling at the bottom, allow slightly more air exchange. |
| Direct sunlight or heat | Move the grow bag away from direct sunlight, radiators or other heat sources. Keep it below 27 °C. |
| Suspected contamination | Keep the bag closed, take clear photos and contact Mondo customer support. Do not try to clean or rescue a contaminated kit. |