






 Strains
 Guides
 Tools
Tools Support





Growing Guides
How many flushes can you get from a mushroom grow kit?
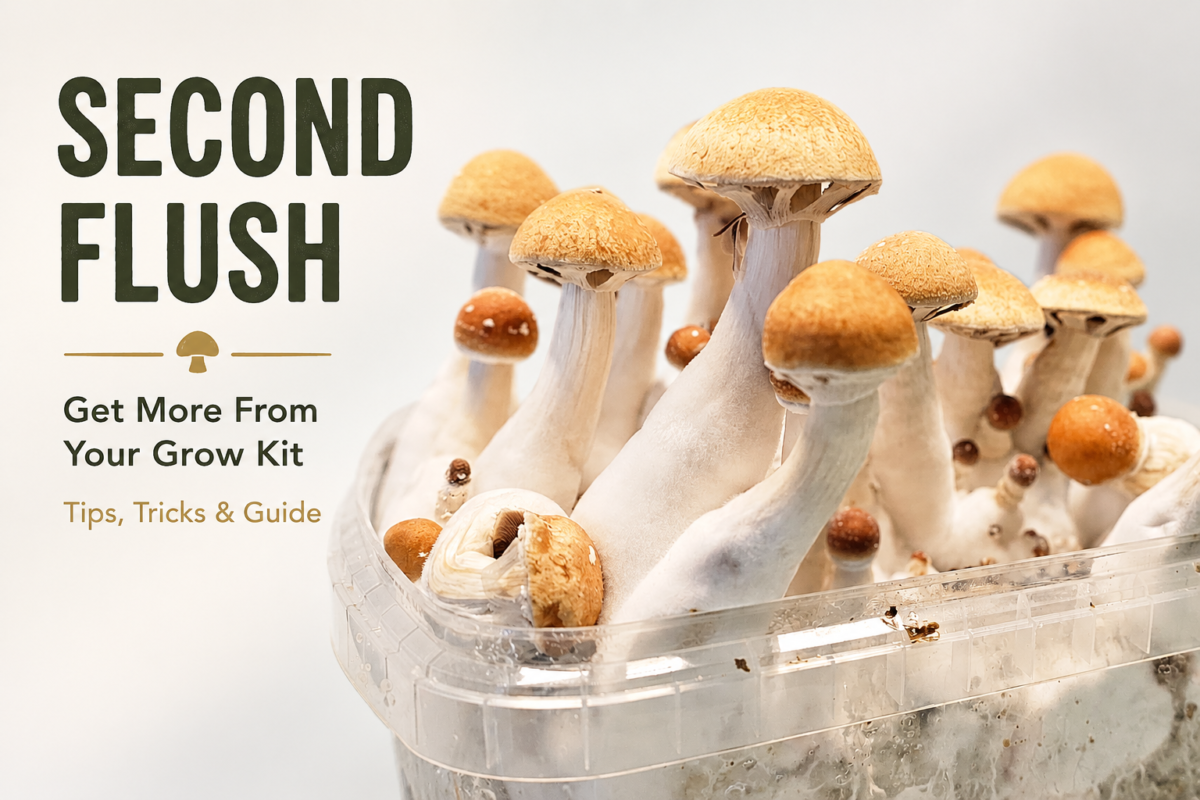
Most people harvest the first flush from their grow kit, eat well, and assume the kit is done. That’s leaving a little yield on the table, most kits are capable of a good second flush. Mondo recommends going no further than that second flush, for safety reasons, so this guide focuses on how to get the most out of flush two.
This guide covers what a flush actually is, how much yield to realistically expect, and the exact steps to trigger a strong second flush from your kit.
What Is a “Flush,” Exactly?
A flush is one complete fruiting cycle: pins form on the substrate, develop into mushrooms, and are harvested, after which the mycelium rests before it’s ready to fruit again. A grow kit has enough stored nutrients for several of these cycles, but Mondo recommends stopping after the second flush for safety reasons, see “Why we recommend stopping at flush two” below.
How Much Yield Should You Expect Per Flush?
This is where a lot of growers get their expectations wrong. Yield doesn’t drop off a cliff after flush one, but it does decline steadily, and that’s completely normal, it’s not a sign of a failed grow.
Across cultivation data for cubensis-type kits, the pattern generally looks like this:
- First flush: roughly 40–60% of the kit’s total lifetime yield
- Second flush: roughly 30–50% of the first flush’s weight
- Third and fourth flush: substrate can technically keep producing smaller flushes after that, but this falls outside Mondo’s recommended use of the kit, see below before deciding whether to continue
In other words: if your first flush produced a generous harvest, your second flush should still be very much worth the effort, and that’s where we recommend you stop.
If a flush produces nothing at all after about three weeks of proper fruiting conditions, the kit has run its course.
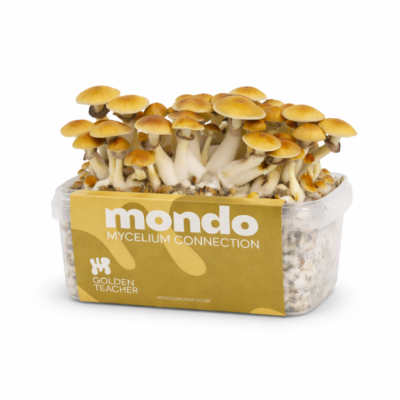
Products used here
✓ In stock
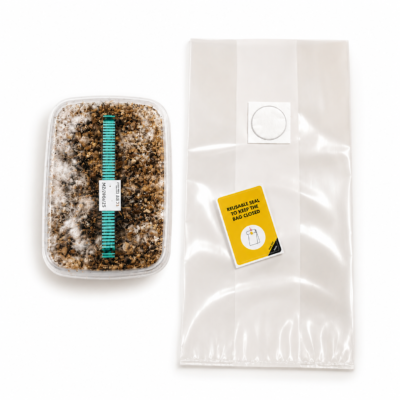
✓ In stock
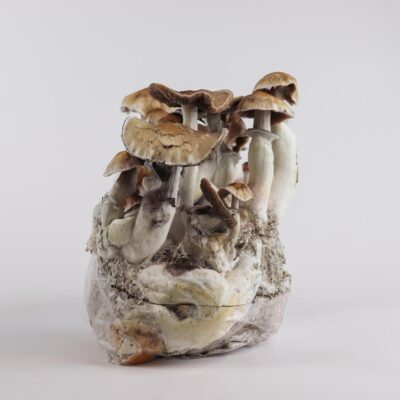
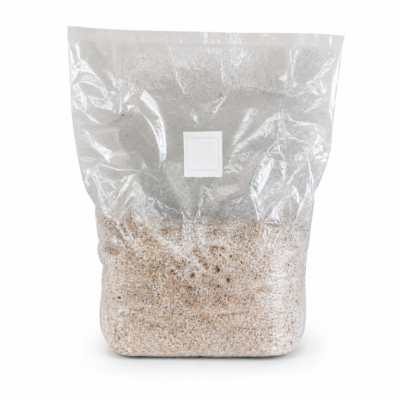
✓ In stock
How to Trigger a Second Flush
The good news: you don’t need anything you don’t already have. The tub your kit came in is exactly what you’ll use again.
Why We Recommend Stopping at Flush Two
You may come across advice elsewhere suggesting a third or fourth flush is standard practice. Mondo’s grow kit manual specifically recommends going no further than a second flush, for safety reasons: each extra round of rehydrating an already-used, no-longer-sterile substrate widens the window in which contaminants can establish themselves, and by this point the substrate has also given up most of the nutrients that kept mould pressure in check during the first two rounds. If you choose to try a further flush anyway, you’re going beyond our tested guidance, inspect the substrate closely before and during rehydration, and discard immediately at the first sign of green, black or pink discolouration or an off, sour smell.
Why a Second Flush Sometimes Fails
If a rehydrated kit doesn’t produce anything, it’s almost always one of these:
- Contamination: visible green, black, or pink discolouration, or a sour/musty smell. If you see this, discard the substrate; there’s no salvaging a contaminated flush.
- Poor airflow: a grow bag with restricted air exchange can suffocate the mycelium even if temperature and humidity look fine.
- Substrate exhaustion: sometimes a kit has genuinely given everything it has after two flushes. This is a normal, expected outcome, not a mistake on your part.
More flushes with Mondo
Every Mondo product comes with a step-by-step manual on our site, and orders ship discreetly with tracking.
Shop grow kitsFrequently Asked Questions
Most kits produce 2 to 4 flushes. The first is by far the largest; each following flush is smaller than the one before it.
Give the substrate at least 24 hours of rest before rehydrating, then expect new pins within 1–2 weeks after the kit is set back up.
No. Rehydrate the substrate directly in the tub it came in, no separate bowl or bucket required.
Yes. A second flush at roughly 30–50% of the first flush’s weight is typical and not a sign anything went wrong.
If a properly set-up flush produces no pins after about three weeks, the substrate is spent and it’s time to start a new kit.