






 Strains
 Guides
 Tools
 Support


Strains
How to Grow Golden Teacher Mushrooms: A Week-by-Week Guide
Learning how to grow Golden Teacher mushrooms is mostly about keeping a colonized kit at 23 to 25 °C, in bright indirect light and in a closed, humid bag until pins appear. From that point you add fresh air once to three times a day. Most Golden Teacher kits give a first harvest two to four weeks after activation and two to four flushes in total.
Why is Golden Teacher a good first strain?
Golden Teacher is a good first strain because it is forgiving. It keeps growing through small temperature dips, pins reliably in an ordinary room and recovers from minor mistakes, such as airing the bag a day late. The Mondo strain library rates it as easy, with 2 to 4 flushes.
It also looks the way most people expect a cubensis mushroom to look: golden brown to yellow caps of 2 to 8 cm on thick, pale stems. That makes it easy to learn what healthy development looks like before you try more demanding strains such as Penis Envy.
What do you need before you start?
Everything for the kit itself is in the box. Next to the kit you need:
- drinking water and a clean spray bottle;
- antibacterial soap and a disinfectant for your work surface;
- a spot at 23 to 25 °C with bright, indirect light;
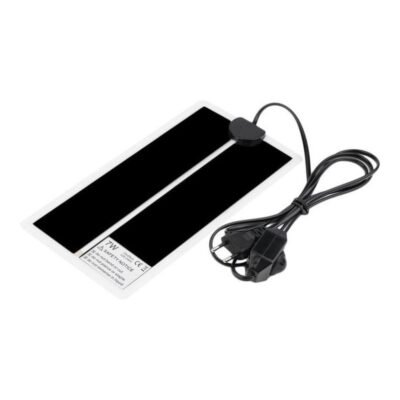
- optionally a thermometer strip and, in a cold house, a heat mat with a heat guard.
Products used here
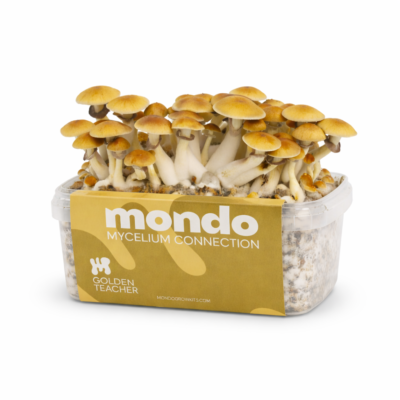
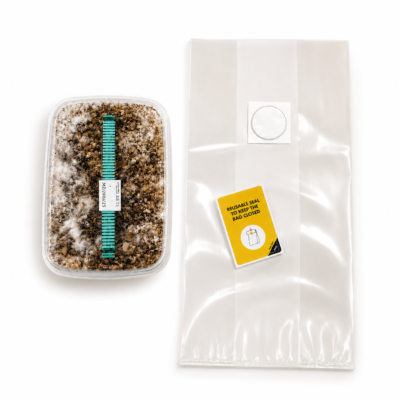
✓ In stock
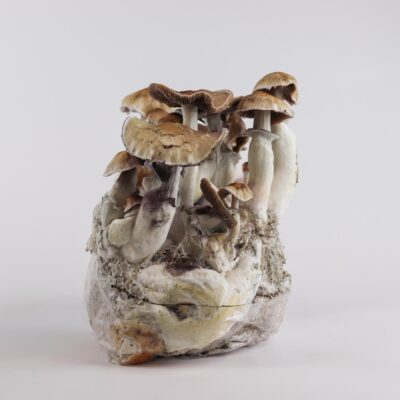
✓ In stock



✓ In stock
What happens week by week?
The timeline below follows the Mondo grow kit manual. Every grow develops at its own pace, so use it as a guide, not a deadline.
| Stage | Typical timing | What you do |
|---|---|---|
| Soaking | 9 to 12 hours in the fridge | Fill the container with cold drinking water, close it and refrigerate |
| Into the filter bag | Day 0 | Drain, add 150 ml water to the bag, place the kit inside, fold and seal |
| Before pins | Day 1 to roughly day 6 to 14 | Leave the bag closed; only mist the inner wall if it is clearly dry |
| First pins | Often day 6 to 14 | Start fresh-air exchange 1 to 3 times a day; stop misting |
| Growth | The days after pinning | Keep the routine; mushrooms grow visibly each day |
| Harvest | Often 2 to 4 weeks after sealing the bag | Harvest when the veil under the cap starts to tear |
| Next flush | After harvest | Soak again as described in the manual |
Week 1: wait and keep it stable
The first week looks quiet. The mycelium is adjusting to its new conditions and preparing to fruit. The most useful thing you can do is nothing: keep the bag closed, keep the temperature stable and do not open the kit to check.
Week 2: the first pins
Pins are small, pale knobs on the surface, a few millimeters high at first, often with a darker tip. Once you see them, start airing the bag one to three times a day. Open it briefly, let the old air out and reseal it with fresh air inside.
Weeks 2 to 4: growth and harvest
Golden Teacher mushrooms grow fast once they have started. Within a few days pins become mushrooms with recognizable caps. Watch the underside of the caps: a thin veil connects the cap edge to the stem. When it begins to tear, the mushroom is ready.
Harvest the flush together
Golden Teacher flushes often mature unevenly. Harvest the mushrooms that are ready, then check again the next day. When most of the flush is ready, harvest the rest, including small ones, so the kit can start the next flush cleanly.
How do you harvest Golden Teacher mushrooms?
Twist each mushroom gently at the base of the stem and lift it out. Avoid pulling large chunks of substrate with it, and remove any small aborted pins left on the surface. Our guide on how to harvest magic mushrooms shows the technique, including when cutting is better than twisting.
How do you get a second flush?
After harvesting, soak the kit again following the manual and return it to the same conditions. A second flush is usually smaller than the first, and a third or fourth smaller still. The flushes guide explains how to prepare the kit and when to stop.
Which mistakes slow down Golden Teacher?
Golden Teacher forgives a lot, but four mistakes still cost time:
- A cold spot. Below 22 °C pinning slows down. See our winter temperature guide.
- Direct sunlight. It heats the bag and dries the surface. Indirect light is enough.
- Spraying the substrate. Mist only the inner wall of the bag, and only before pins appear.
- Opening the bag too often before pins. Each opening lowers humidity and slows pinning.
Related products
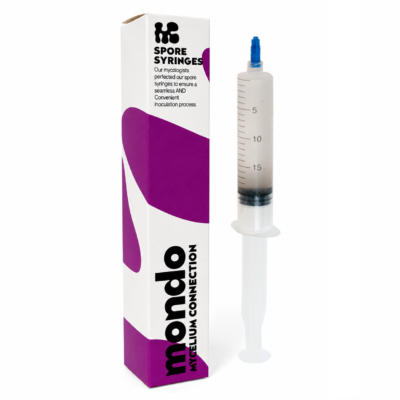
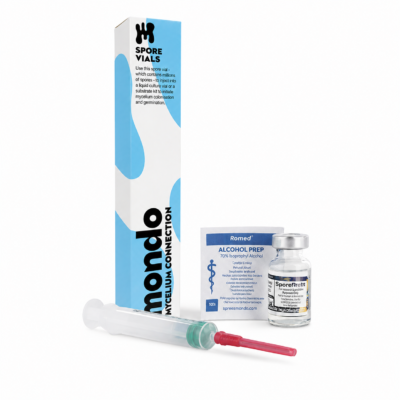
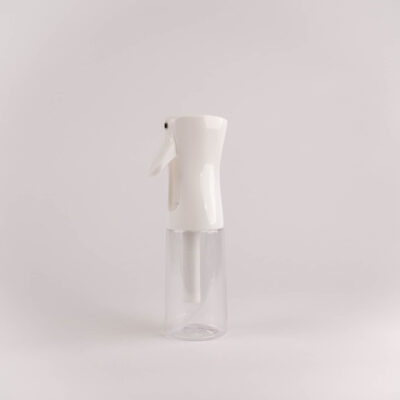
Grow Golden Teacher with Mondo
Every Mondo product comes with a step-by-step manual on our site, and orders ship discreetly with tracking.
View the Golden Teacher grow kitQuestions about growing Golden Teacher
Most kits show pins after 6 to 14 days and give a first harvest after 2 to 4 weeks, counted from sealing the filter bag. Temperature makes the biggest difference.
Cap color varies with genetics, light and maturity, so lighter and darker caps in one flush are both normal.
Usually 2 to 4. The first flush is typically the largest.
Yes, if you inoculate sterilised substrate yourself. That route takes longer, because the substrate first has to colonize, and it requires clean work.
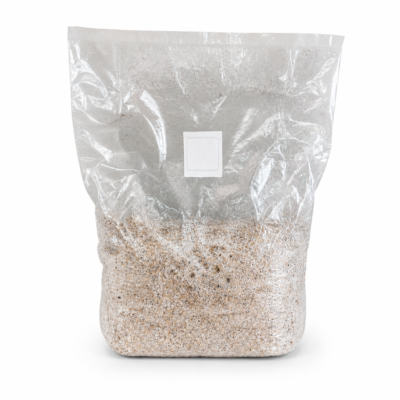
Both arrive fully colonized. The grow kit is a container that fruits inside a filter bag, while the Ready-to-Grow Bag XL holds about 2.1 kg of substrate and fruits directly inside its own bag.